Double trouble
The theory and technique behind a recent portrait shoot with a difference.
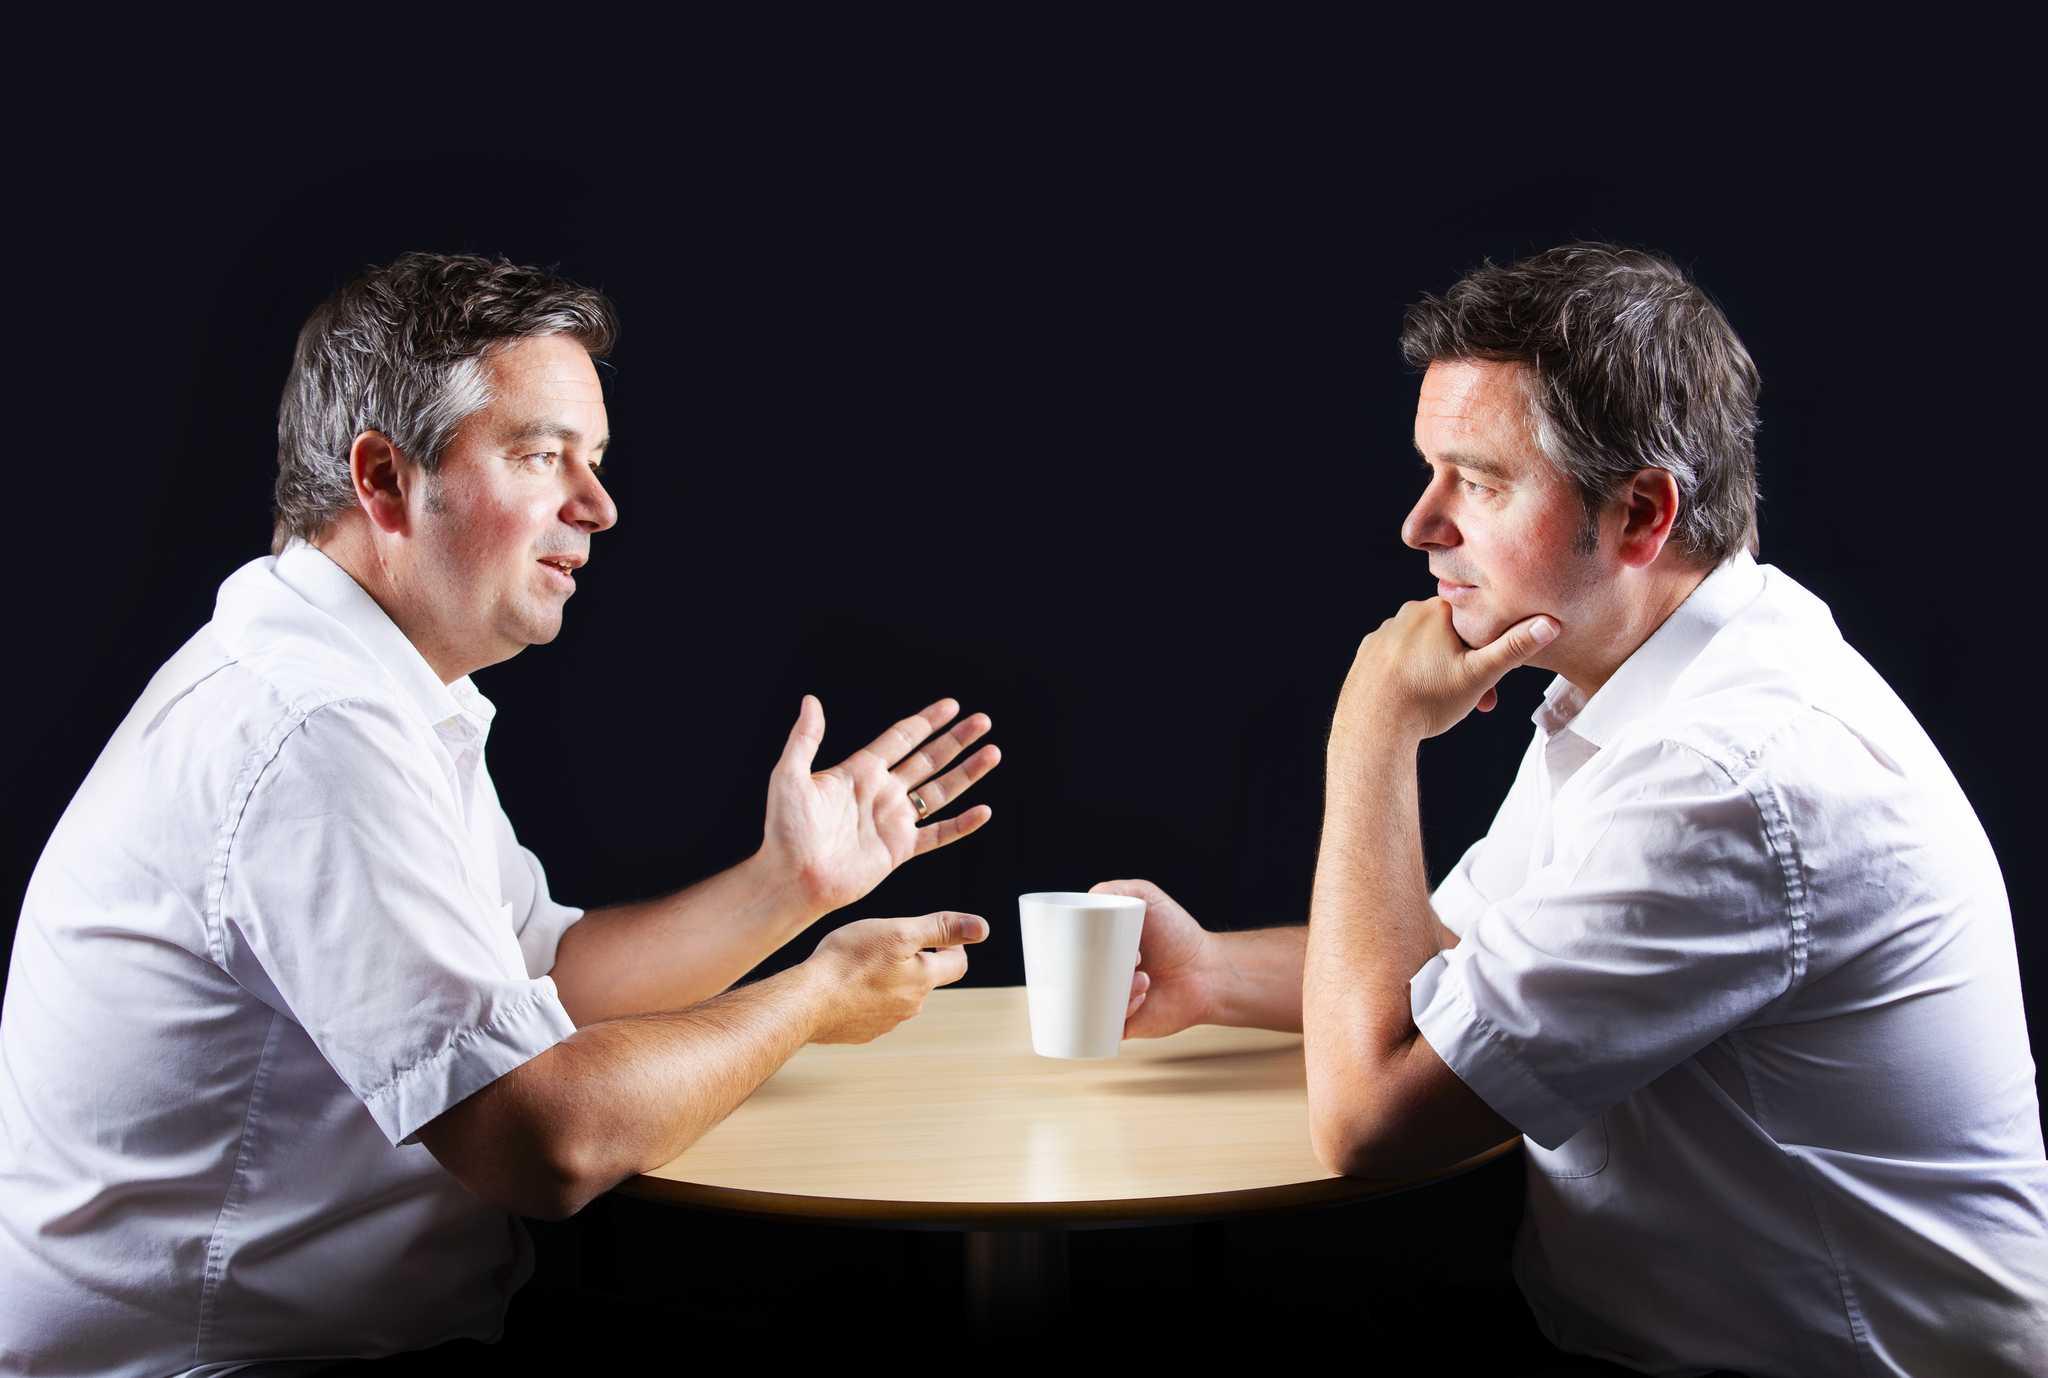
For a recent blog post about face-to-face customer involvement I wanted a portrait of the author (Mitch) to accompany the piece. The problem with the author is that I’ve photographed him about a billion times over the past decade for various articles, press releases and initiatives, and there wasn’t really a creative avenue left to go down. He’s also implied that on some previous shoots I may have made him look intentionally ridiculous - something that I categorically deny. ![]()
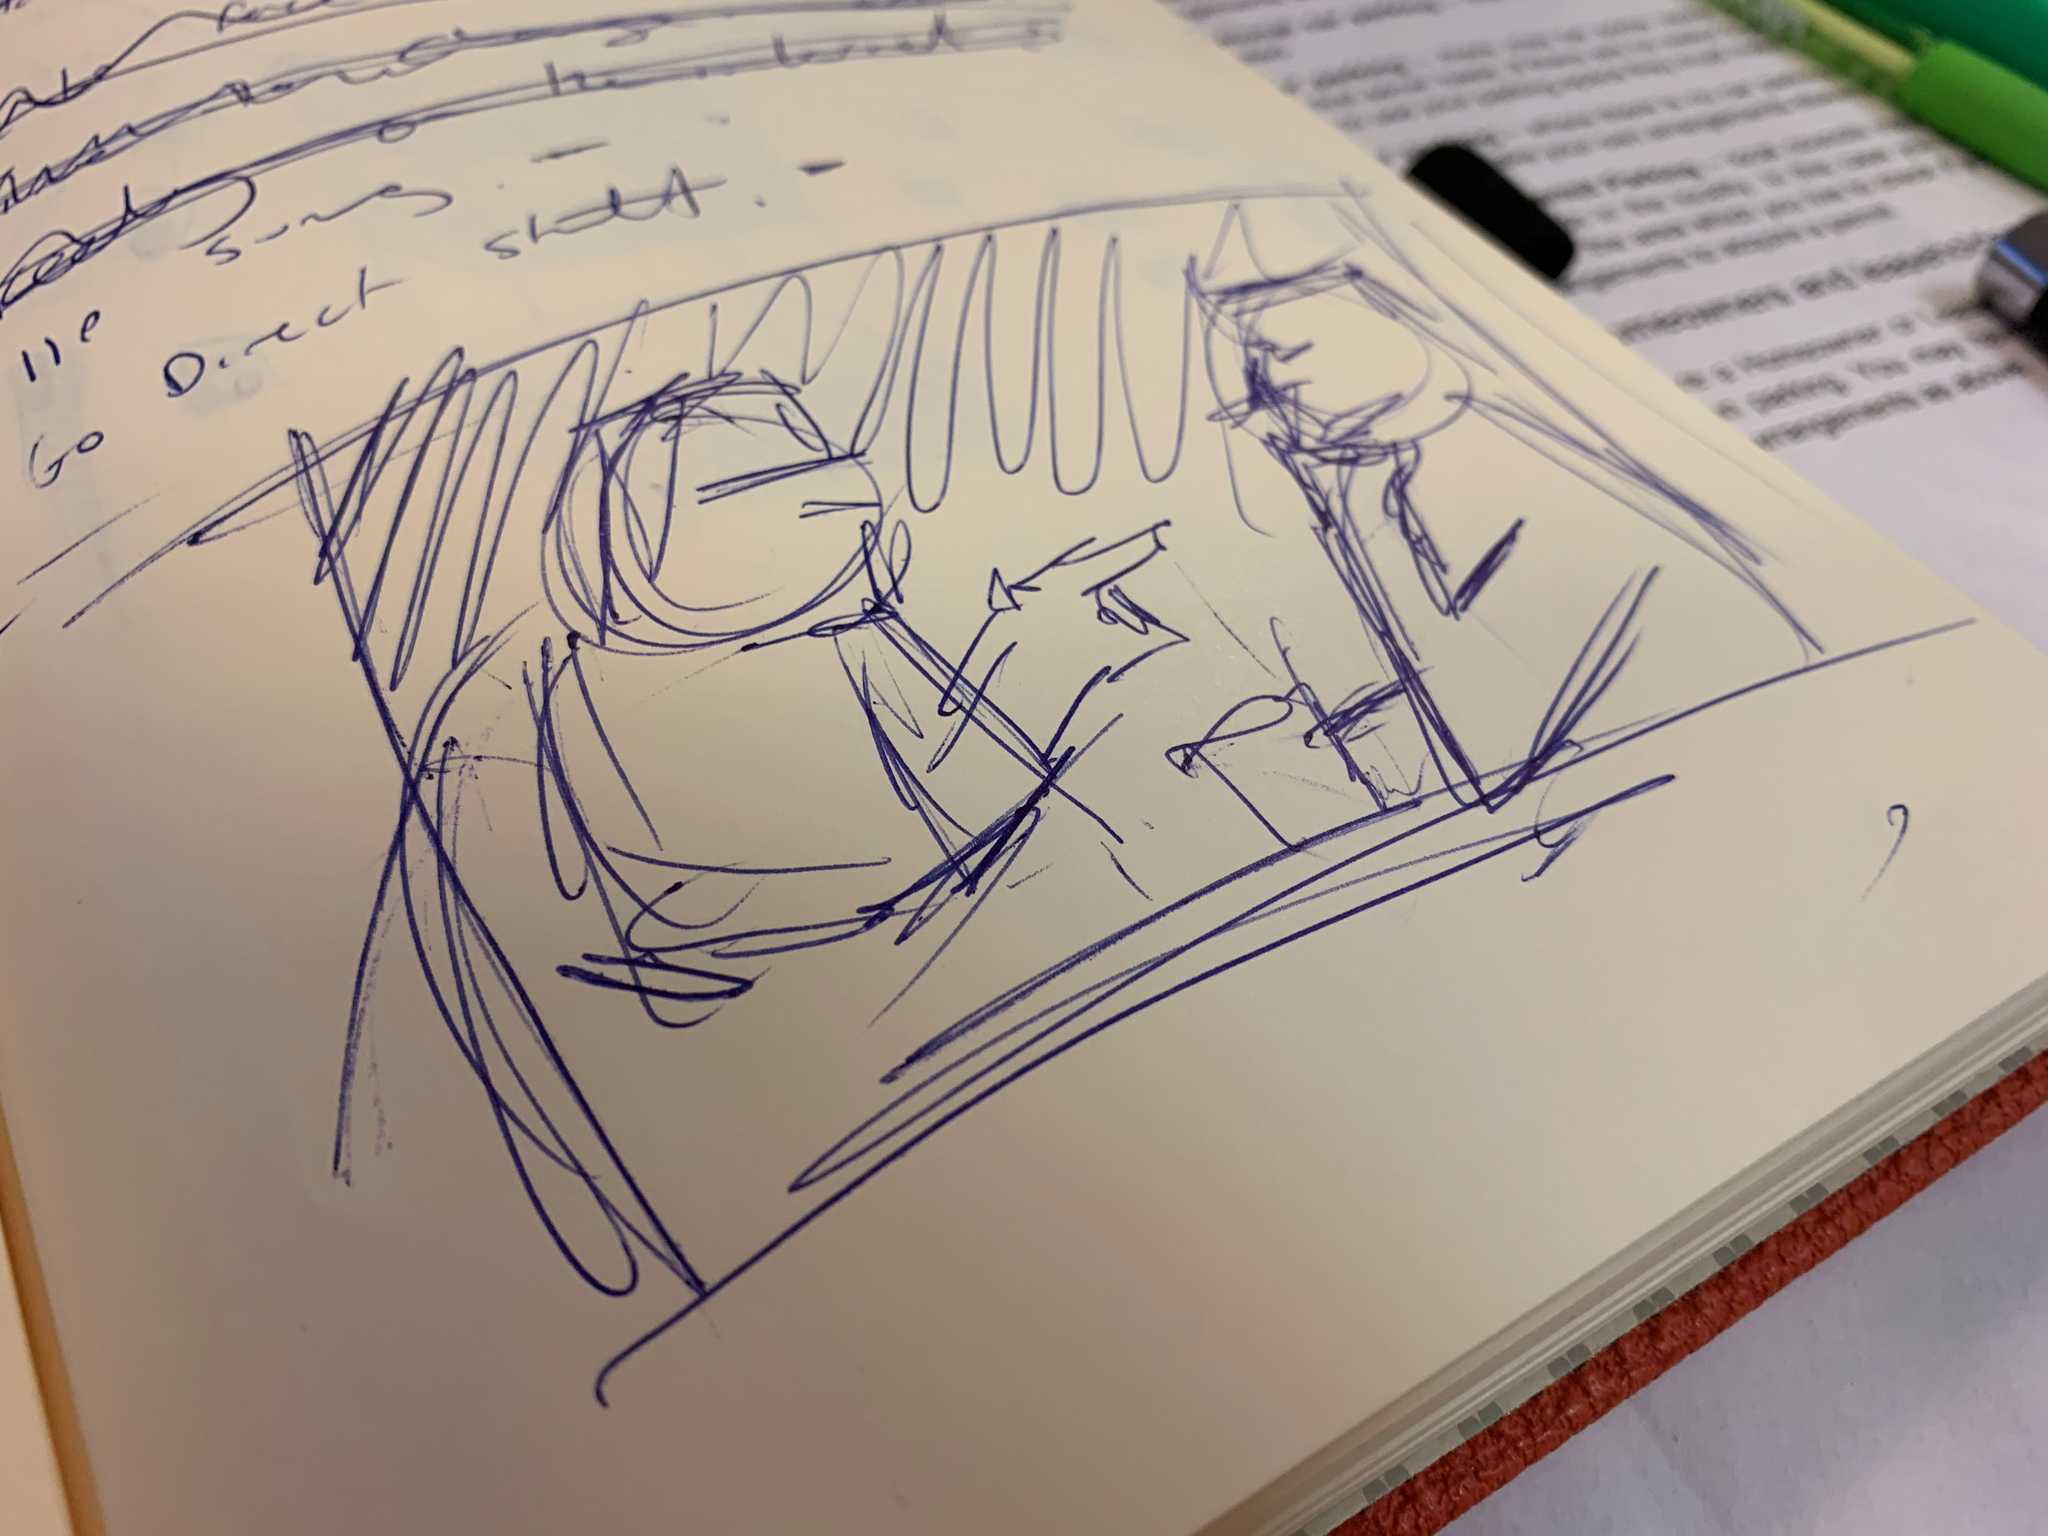 Steve's notebook
As the theme of the article was about talking to people in the digital age, I thought that riffing on having a conversation may give some creative options we hadn’t previously explored. After speaking to Mitch, and him categorically ruling out hats (he’s not a fan) I asked him whether or not he’d be happy having a conversation with himself? Essentially turning the conversational theme on its head.
He grudgingly agreed, saying “I’ll do it, but don’t make me look like an idiot". After bouncing some ideas off Rich, we hit upon the idea of replicating the famous Smith and Jones’ talking heads sketch, but this time as a still image.
Method
I wanted to shoot each side of Mitch and get the shots needed in camera. I thought this would look more natural and avoid the look of it blatantly being flipped in post-production. Because I was using a tripod and the two shots would be taken from exactly the same point, I could composite the two sides together, making post-production a case of just dropping two images in and blending them together.
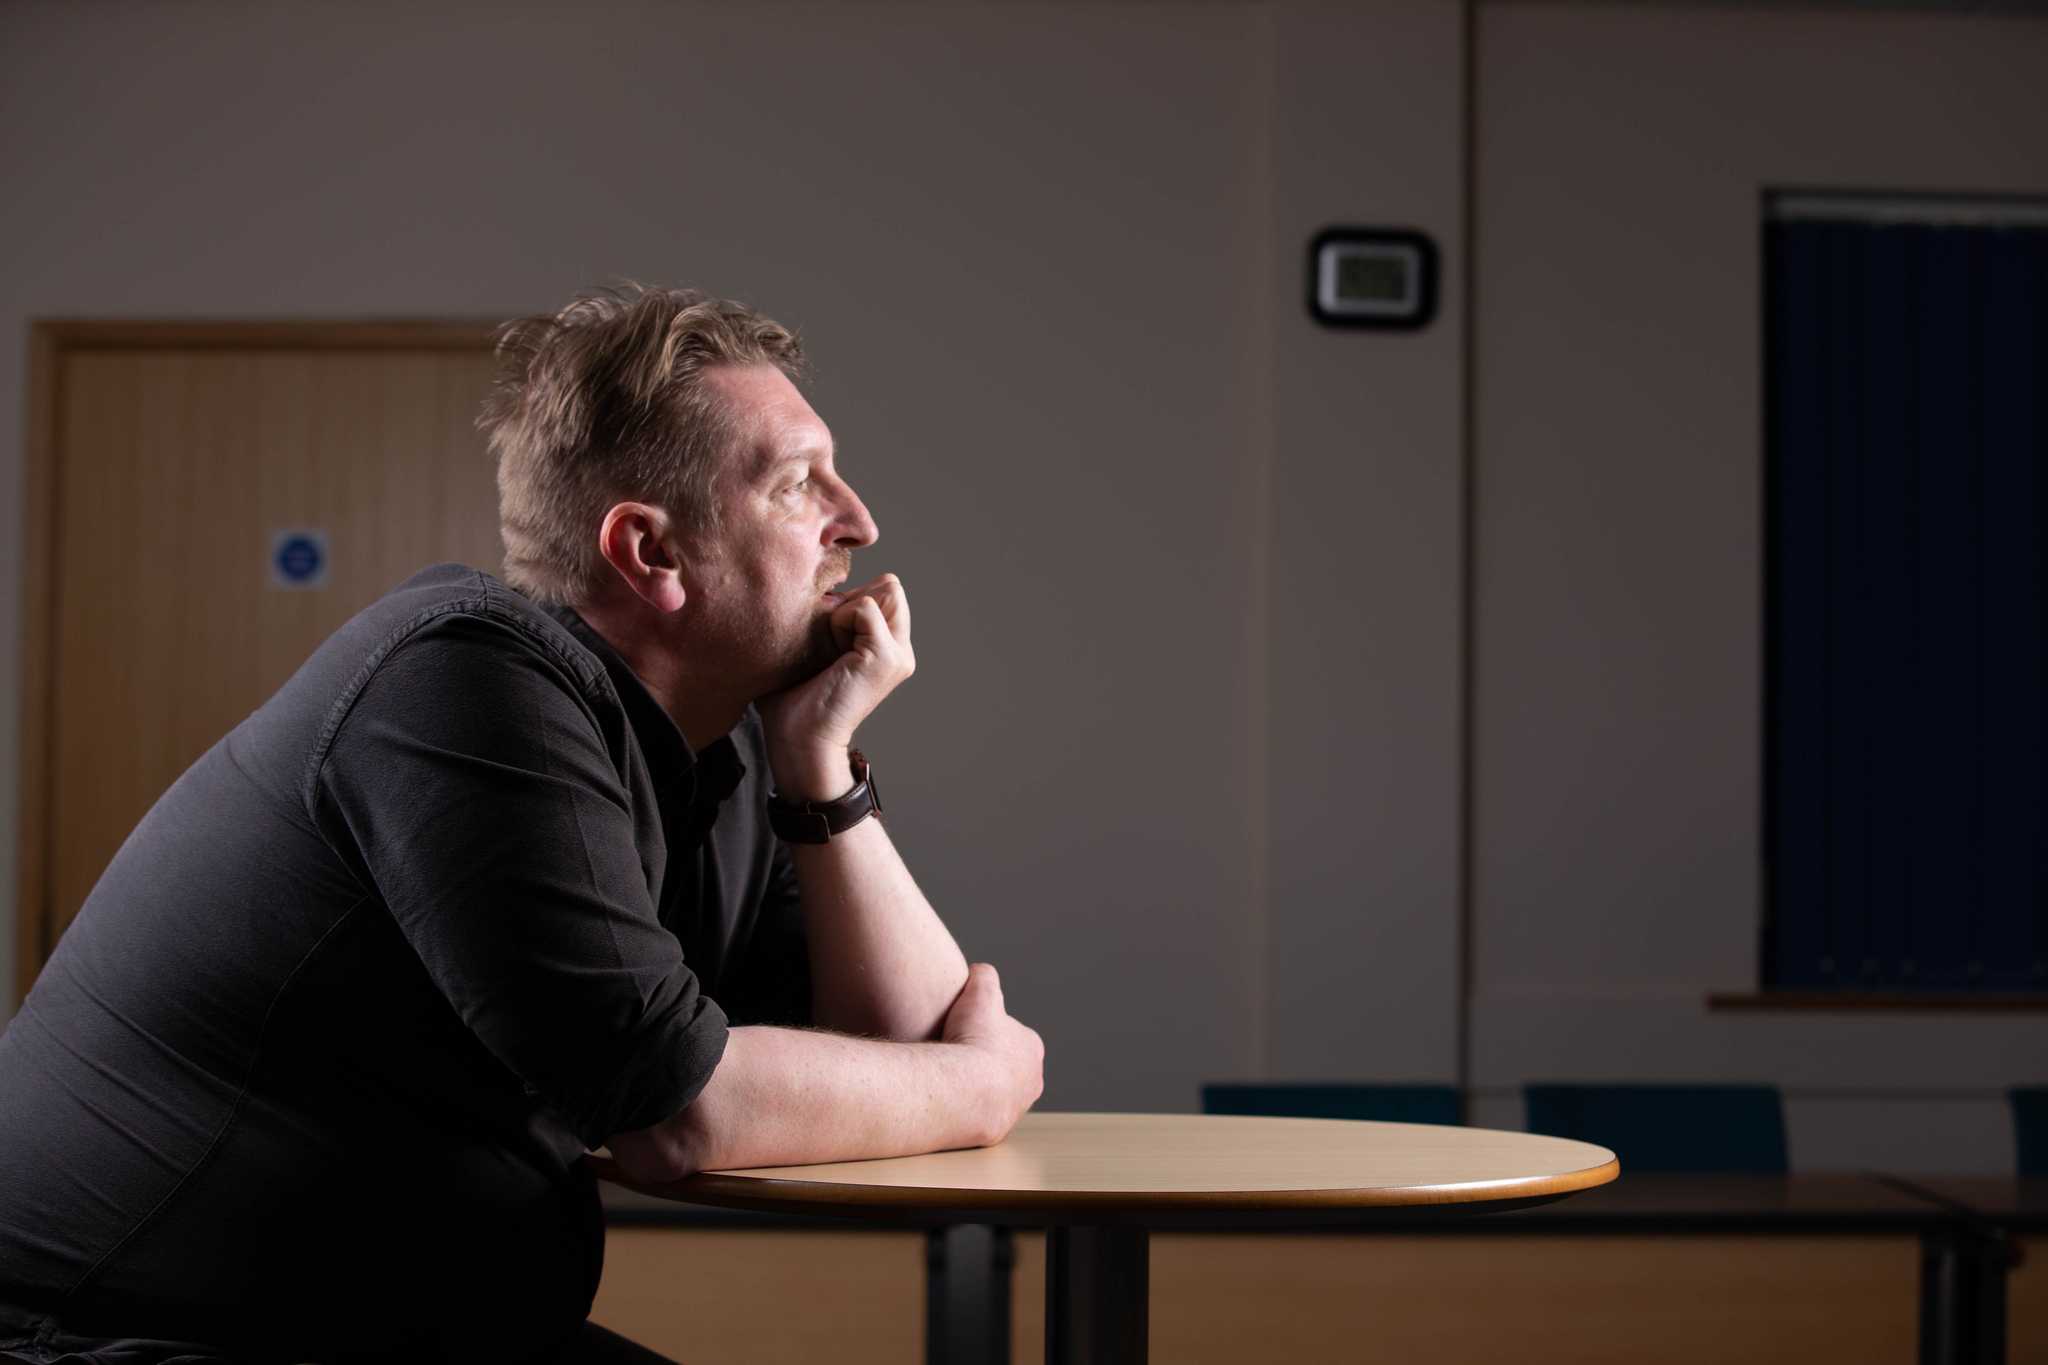
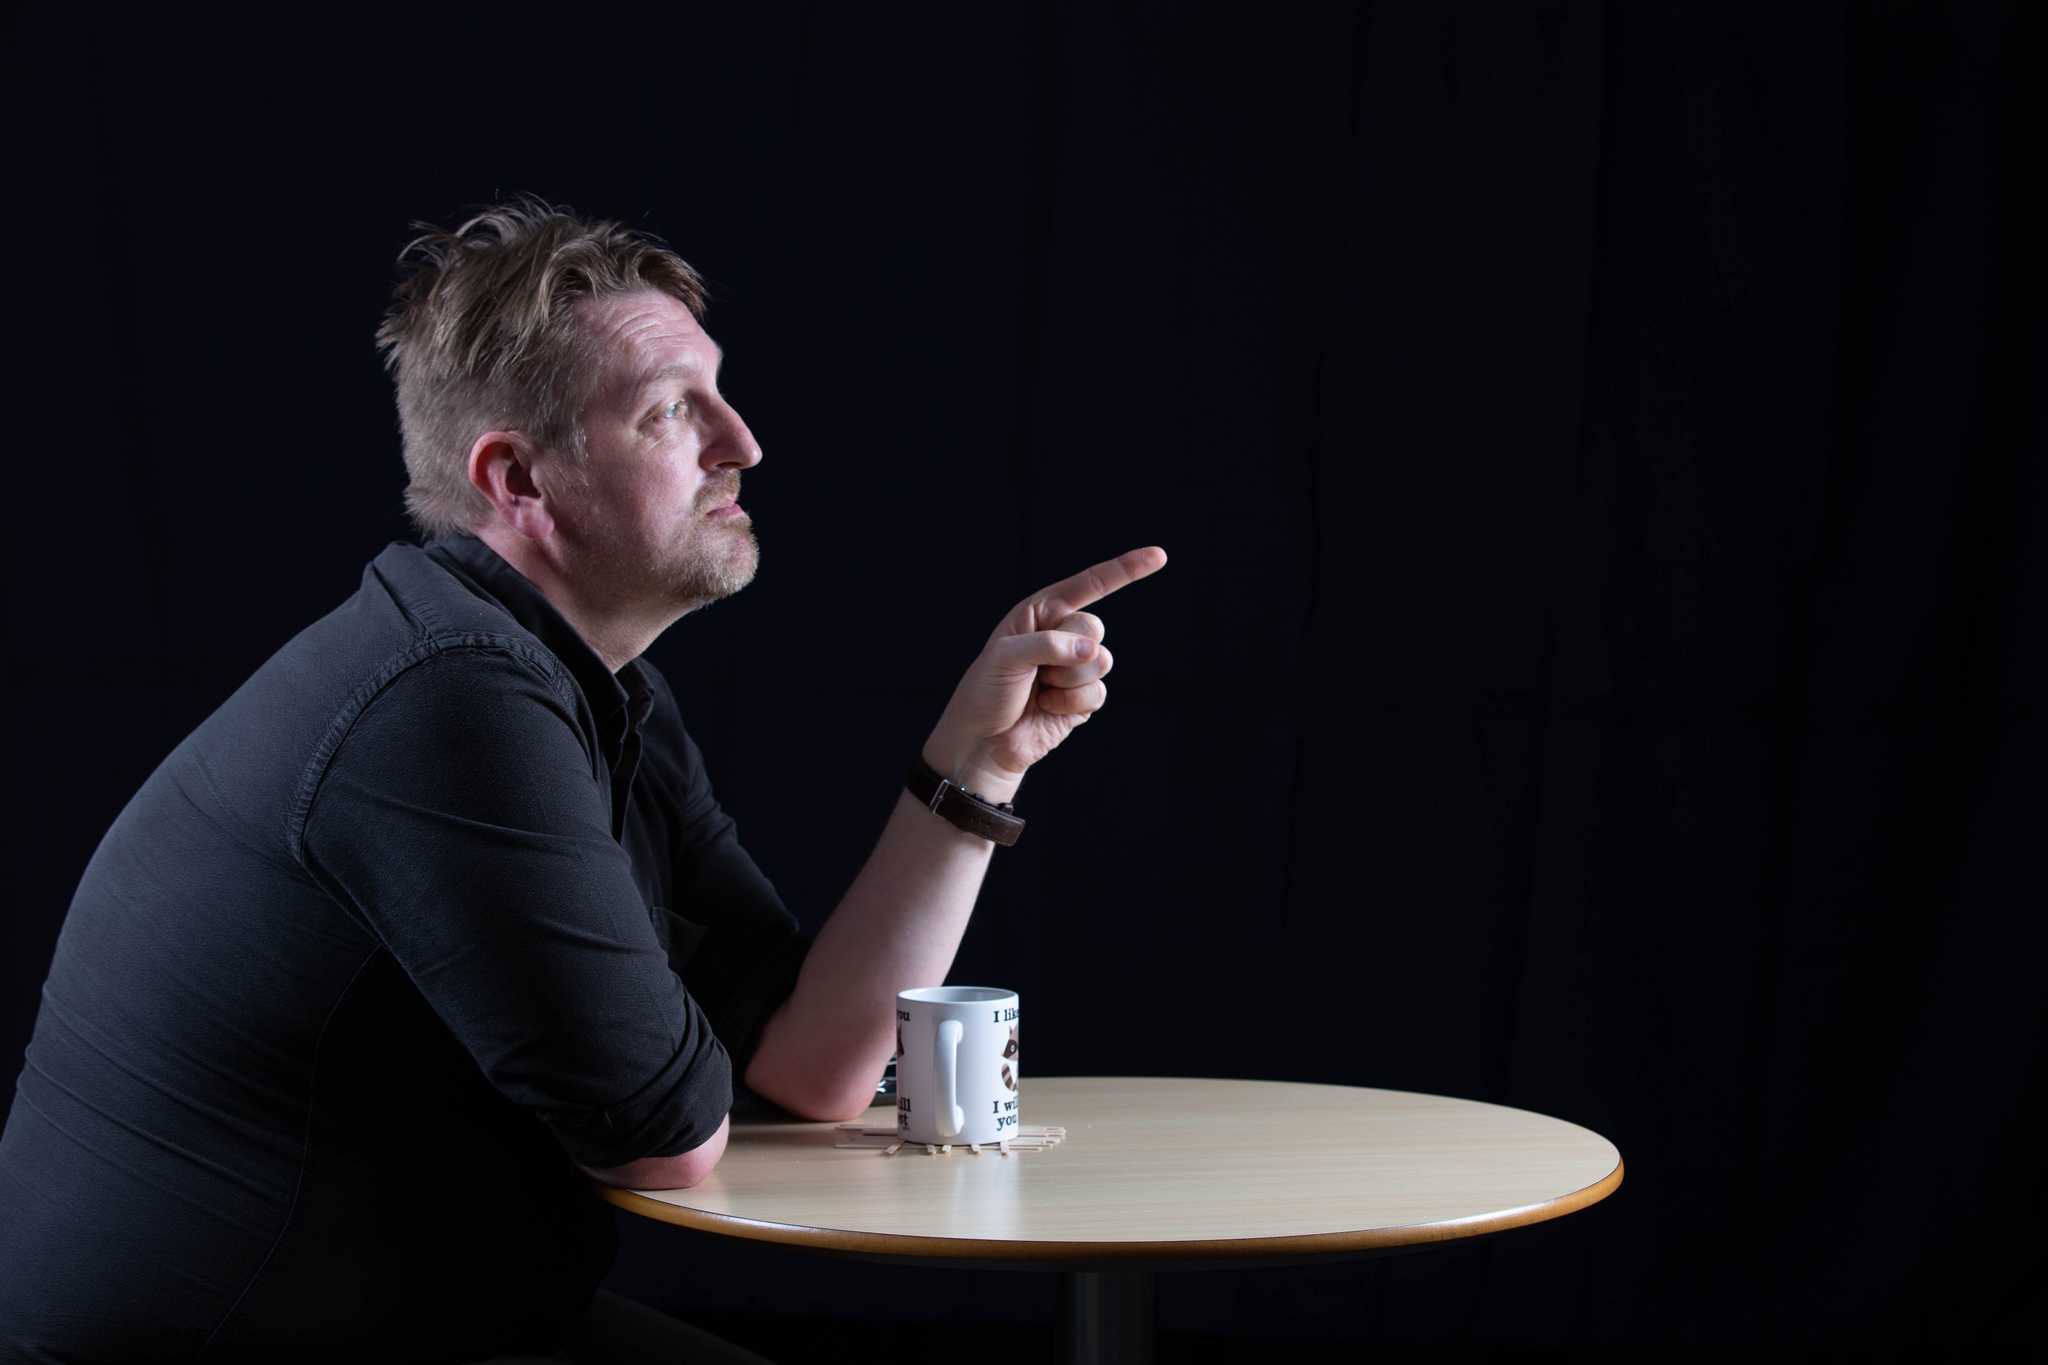
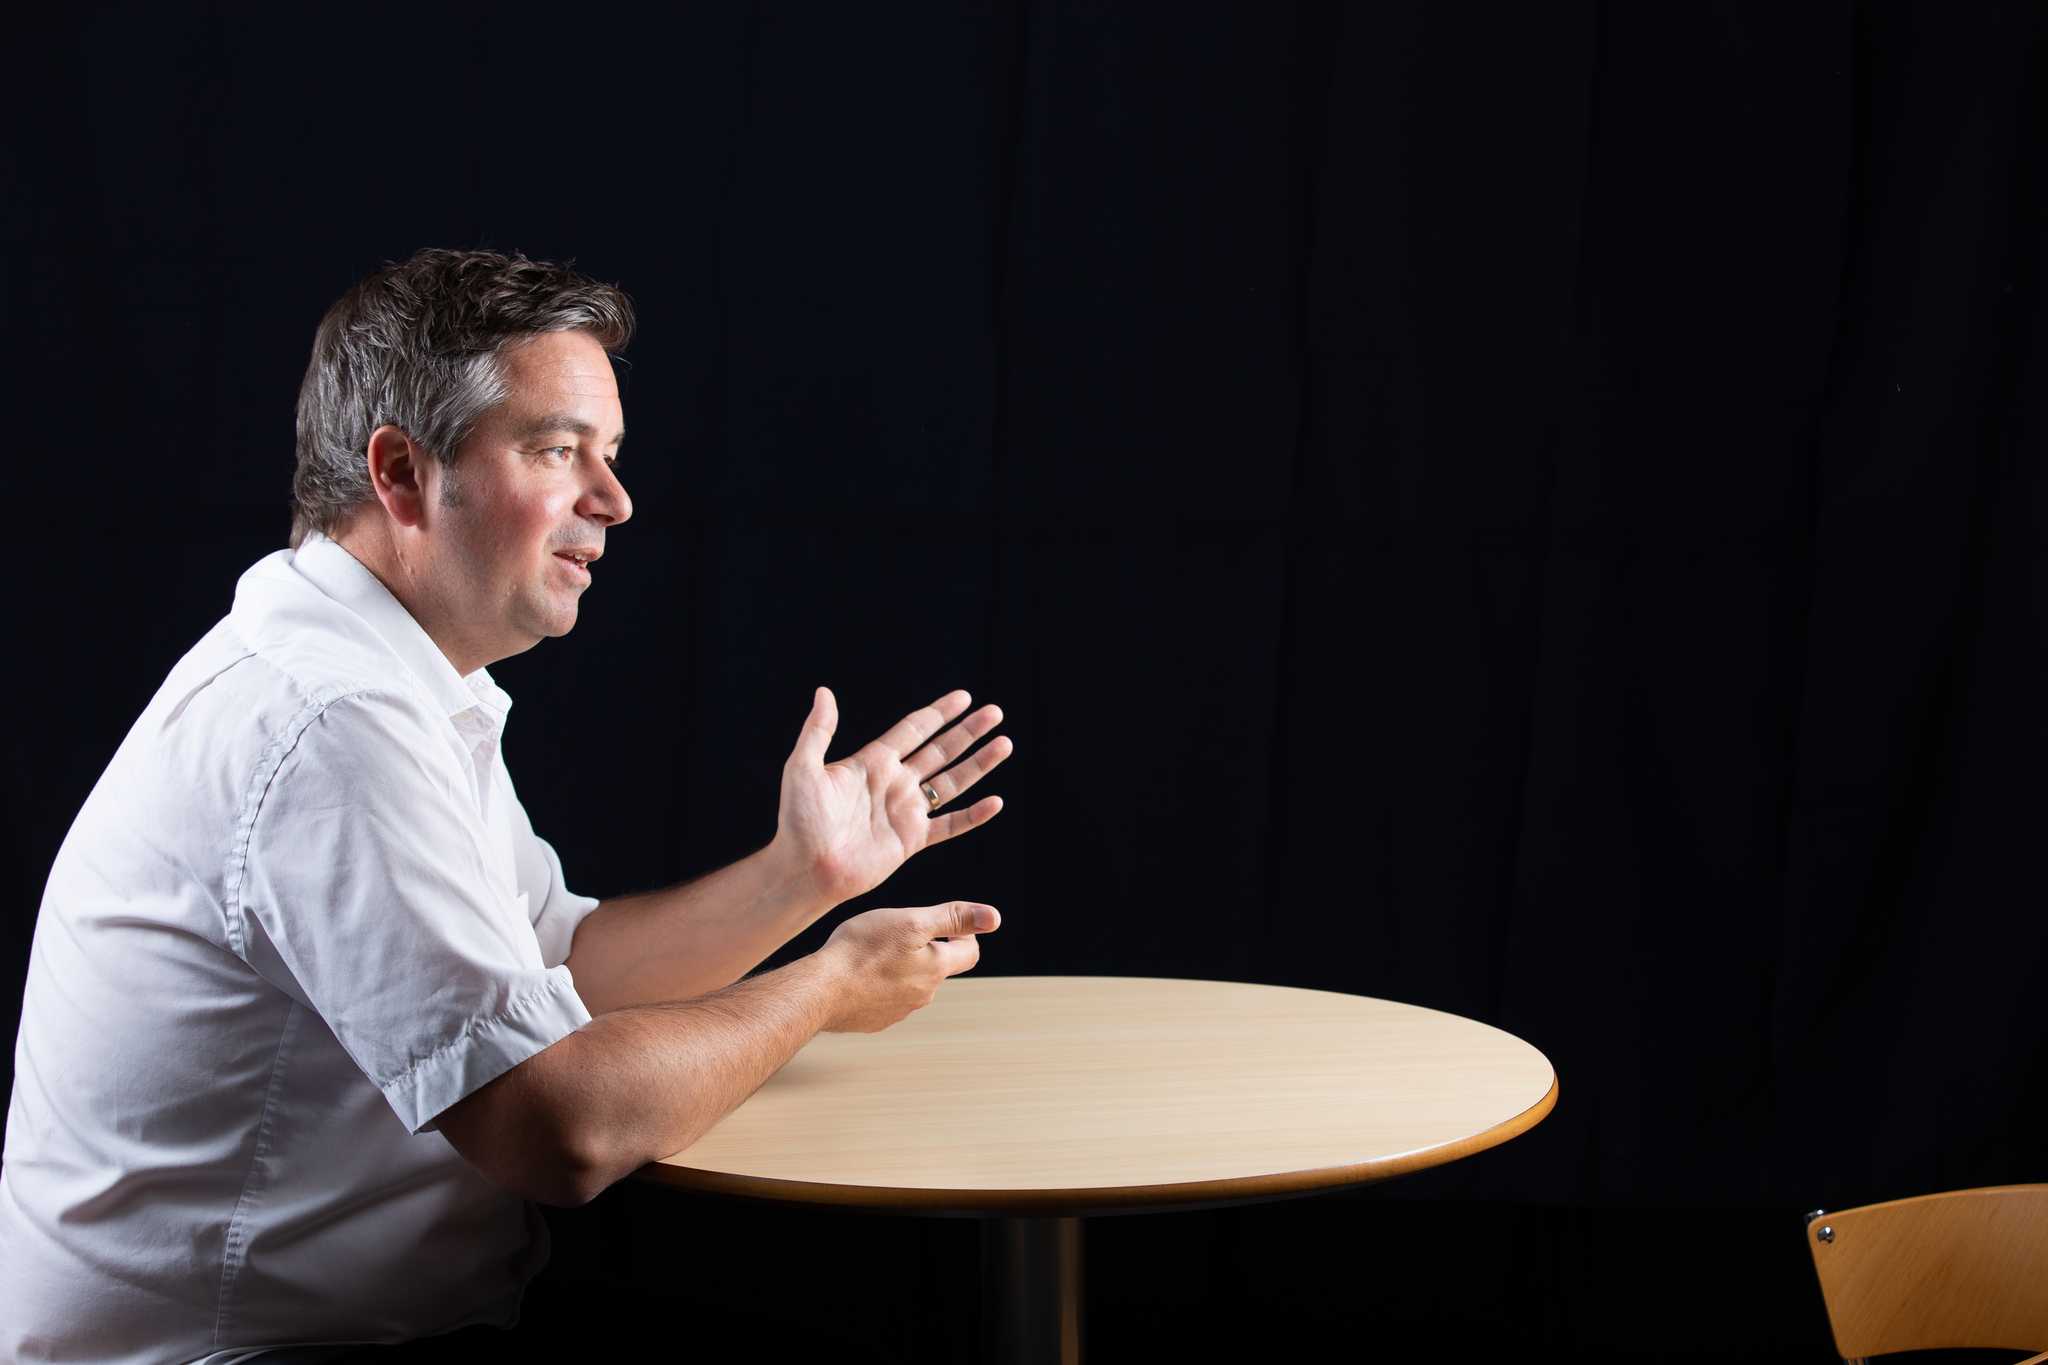
We experimented with posing using Rich as a stand in, making sure that whatever we did we didn’t invade the other subject’s space on the image. We tried many expressions and hand gestures, and brought in a cup of coffee to visually differentiate left and right.

Lighting
We hung a black drape on a studio backdrop stand to isolate the subject, and remove any accidental lighting of the background. I positioned one soft box to the front and back of the subject and did shots half stops apart with the lights, careful not to over expose any parts of the picture. It’s an easy setup to do, but gives an evenly lit studio feel.
Post production
Once shot, I skimmed through the photos in Lightroom, grabbing the keepers I’d identified from the camera LCD. The two I thought would work well when I shot them did do, so I then lifted the exposure slightly, tweaked the curves and adjusted the colour balance to remove some of the yellow in it. I duplicated any changes on the two images.
I then combined the two sides in photoshop, dropping the left hand side Mitch into place and using a mask to erase everything but him from the layer. I prefer using masks for this kind of work, as it's non destructive - and if you screw up you can paint it back in. Once I was happy that everything was lined up I flattened everything. I then punched up the contrast and set about accentuating highlights to create a more dramatic feel.
 Steve Atkin
Lastly I burnt out the background, and used the content-aware removal tool to take out some of the creases in the background that had reflected light from the flash heads.
The final composite image is above with some of the test shots and off camera versions of the pictures used a little further up the page. I’m really pleased with how it turned out, and think it works really well on the blog, which you can read here.